Common Causes of Motherboard Power Failures
Power Supply Unit (PSU) Issues
Motherboard not getting power can be a frustrating puzzle, especially when your entire system seems to be in limbo. One common culprit lies within the power supply unit (PSU), which acts as the heartbeat of your computer. If the PSU fails or is insufficient, it’s no surprise that the motherboard remains unresponsive despite being connected properly. In South Africa, where power fluctuations are frequent, PSUs are often the first to falter, leading to persistent motherboard power issues.
Another frequent cause is the physical condition of the PSU. Over time, dust accumulation and internal component wear can cause power delivery to become inconsistent. It’s worth inspecting the connectors and cables, ensuring they are securely attached and free from damage. Sometimes, a simple reset or replacement of the PSU can restore power to a motherboard not getting power. For more complex cases, testing with a known-good PSU can help determine if the root cause lies there or elsewhere in the system.
In some situations, power surges or electrical faults can damage the motherboard’s power circuitry, rendering it powerless. To diagnose this, technicians may recommend checking the motherboard’s power connectors, fuse integrity, and other related components. Remember, a motherboard not getting power is often a symptom of a deeper electrical issue, which requires careful inspection and, often, professional intervention.
Motherboard Hardware Faults
Motherboard not getting power isn’t just an annoyance—it’s a digital dead end. Surprisingly, hardware faults, beyond the power supply, often lurk behind this silent failure. Sometimes, a tiny component like a capacitor or voltage regulator can decide to throw in the towel, leaving your motherboard power-less and your plans on hold. These hardware issues are sneaky because they might not be obvious without a deep dive into your system’s innards.
In many cases, physical damage or manufacturing flaws can cause motherboard power failures. For example, a bent pin on a CPU socket or corrosion around the power connectors can disrupt electrical flow. Also, a motherboard with hidden cracks or burn marks might be the villain behind the scenes. Sometimes, the problem is as simple as a dislodged RAM module or a loose motherboard screw causing a short circuit. These hardware faults, if unnoticed, can lead to persistent issues where the motherboard not getting power becomes the least of your worries.
- Inspect for visible damage like burn marks or swollen capacitors.
- Check all internal connections—motherboard not getting power often starts with a loose cable or connector.
- Test with alternative hardware components to rule out faulty RAM, CPU, or graphics card.
In the grand scheme of troubleshooting, hardware faults are often the culprits that slip under the radar. Identifying them requires patience, a keen eye, and sometimes a bit of luck—because in the tech world, even motherboards like to keep their secrets.
Internal Connections and Cables
When your motherboard isn’t getting power, the unseen culprits often lie deep within the tangled web of internal connections and cables. It’s a meticulous process, like unraveling a spellbinding tapestry, to identify where the flow of energy has been interrupted. Loose or improperly seated cables can silently sabotage your system’s vitality, leaving your motherboard dormant and unresponsive. Sometimes, a simple misconnection or a forgotten screw can act as a barrier, preventing power from reaching critical components.
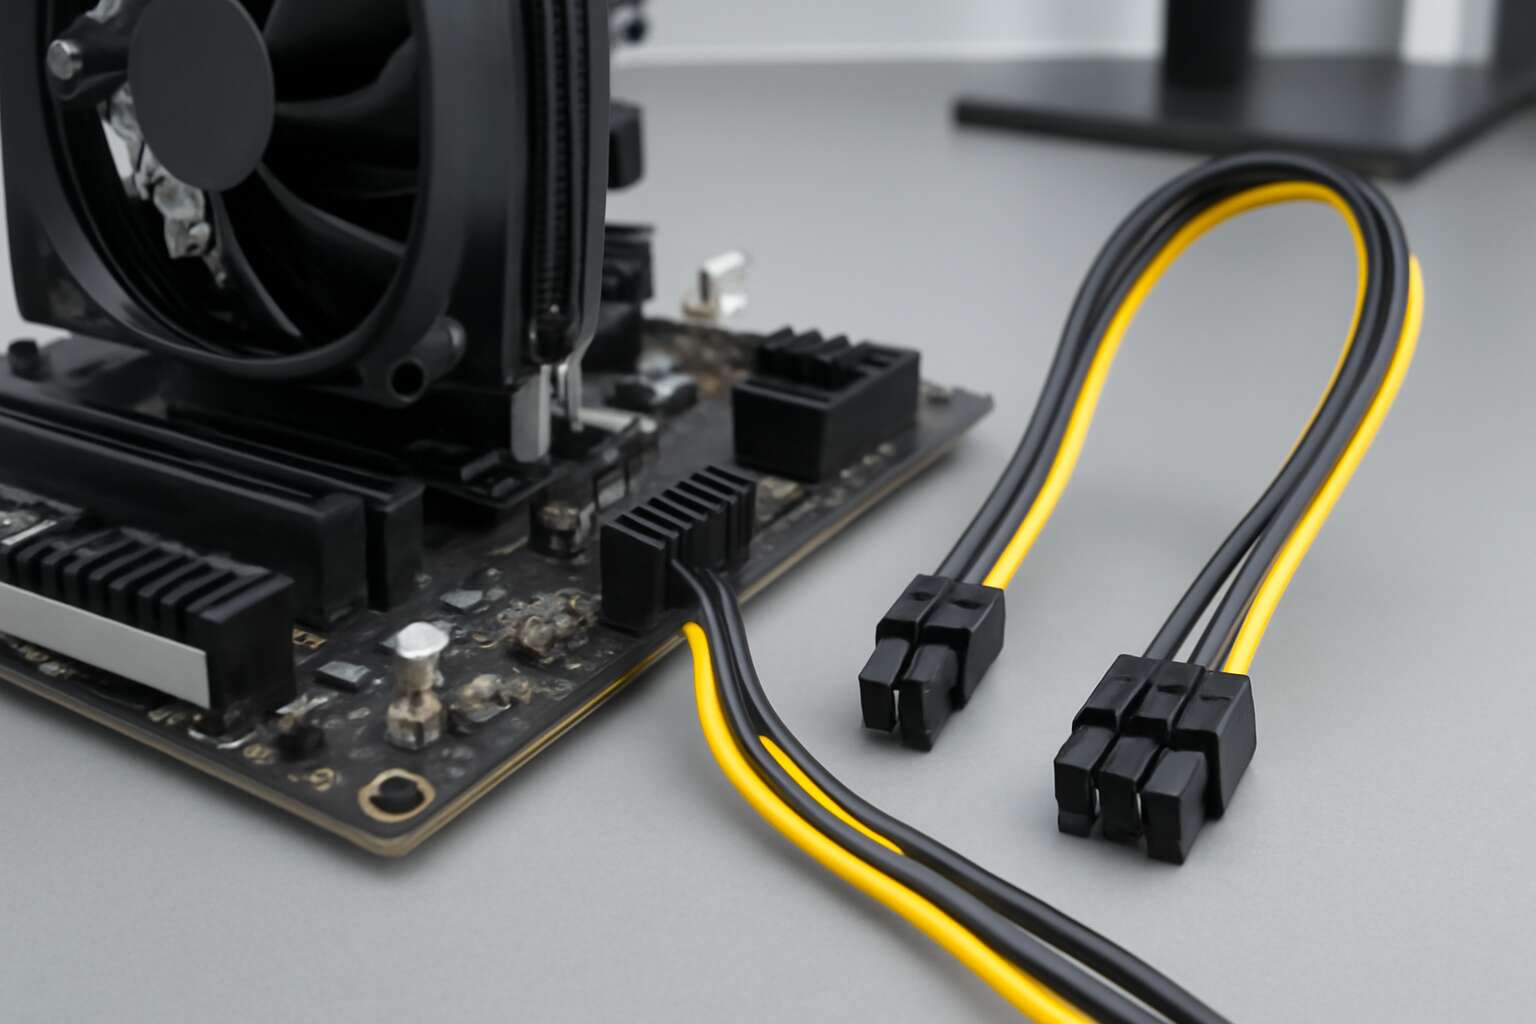
To cast light on this shadowy realm, inspect all internal cables—especially the 24-pin ATX power connector and CPU power cables. Ensure they are firmly plugged in and free of damage. An overlooked detail often is a dislodged RAM module or a loose motherboard screw, which can create a short circuit or block the power flow. For a thorough check, consider reseating these components and verifying their placement. Remember, even a tiny misalignment can turn your once lively motherboard into a silent monument of frustration.
- Verify all internal power connections are secure and seated properly.
- Check for any damaged or frayed cables that could be disrupting the electrical pathway.
- Ensure that the motherboard screws are tight and not causing any grounding issues.
In this intricate dance of diagnostics, patience is your ally. Every cable, connector, and component must be scrutinized to reveal why the motherboard not getting power remains an enigma. The journey through internal connections is often where the magic begins—uncovering the subtle faults that can halt your system’s heartbeat in its tracks.
External Factors
External factors can silently sabotage your motherboard’s power flow, often lurking beyond the immediate hardware. Environmental conditions such as power surges, electrical storms, or unstable power sources are frequent culprits behind the motherboard not getting power. In South Africa, where power fluctuations are commonplace, these external influences can cause subtle yet persistent damage to sensitive components.
Additionally, physical damage inflicted during transportation or improper handling can compromise the motherboard’s circuitry, rendering it unresponsive. Dust accumulation and corrosion from humidity can also create insulating barriers or short circuits, further complicating diagnostics.
- Power surges and voltage spikes
- Electrical storms causing transient power disruptions
- Unstable or fluctuating power supply sources
Understanding these external factors underscores the importance of protective measures—like surge protectors and proper grounding—to ensure your motherboard receives a steady, reliable flow of power. Without safeguarding against these unseen external influences, even the most robust internal connections may falter, leaving your motherboard in a dormant state.
Troubleshooting Steps for Motherboard Not Powering On
Initial Hardware Checks
When your motherboard not getting power, it can feel like the heart of your computer has suddenly stopped beating. Sometimes, the issue isn’t as glaring as a faulty power supply; it’s the subtle signs that something isn’t connecting correctly. For many South African households relying on their PC for work or leisure, encountering this problem can be downright frustrating. But before you panic, taking a moment for initial hardware checks can often reveal the root of the problem.
Begin by inspecting the power button and its connection to the motherboard. Over time, vibrations or accidental knocks can loosen these delicate links. Ensure that the front panel connectors are properly seated and that no pins are bent or damaged. It’s also wise to verify that the power switch on the power supply unit (PSU) itself is turned on. Sometimes, the simplest issues—like a switch in the off position—are the culprits behind a motherboard not getting power.
To systematically troubleshoot, consider this straightforward approach:
- Disconnect all peripherals and external devices to rule out interference.
- Remove RAM modules and re-seat them, checking for any dust or debris that could hinder contact.
- Test the motherboard with a minimal hardware setup—CPU, one stick of RAM, and the power supply—ensuring these critical components are correctly installed and functioning.
By methodically following these steps, you can often pinpoint whether the motherboard not getting power stems from internal connections, hardware faults, or overlooked external factors—saving you time and unnecessary expense. Sometimes, the smallest detail makes all the difference in restoring life to your cherished computer system.
Testing the Power Supply
In the shadowed corridors of your computer’s innermost sanctum, a silent cry echoes—your motherboard not getting power. Sometimes, the nightmare isn’t a failing power supply but a subtle disconnect, a whisper of a broken connection lurking in the darkness. To illuminate this hidden fault, testing the power supply becomes a vital step in the ritual of troubleshooting.
Begin by carefully examining the power supply’s cables—are they firmly seated, untainted by dust or corrosion? A simple test involves swapping the power supply with a known working unit or using a power supply tester to confirm its vitality. With the motherboard still unresponsive, consider performing a *paperclip test*—bridge the green and black wires on the 24-pin connector to see if the power supply turns on. If it does, yet the motherboard remains dormant, the problem may lie elsewhere, but if it doesn’t, the power supply itself is likely the ghostly culprit behind the motherboard not getting power.
Inspecting Internal Hardware
When your motherboard not getting power, it can feel like a heavy, unbreakable silence in your digital world. Sometimes, the root of the problem isn’t obvious—it’s hiding in plain sight, nestled deep within the internal hardware. The process of troubleshooting requires patience and a keen eye, much like tending to a garden where every leaf and stem must be checked for signs of strain or damage.
Start by inspecting the internal hardware components—carefully remove the side panel and examine each element. Look for loose screws, dislodged RAM modules, or dust buildup that might interfere with proper contact. Sometimes, a simple reseat of the RAM sticks or graphics card can restore power flow. If these steps don’t reveal the issue, consider testing individual components outside the system to identify if a specific piece is causing the motherboard not getting power.
In such moments, a thorough internal inspection can be the key to uncovering hidden faults, restoring life to your machine and avoiding unnecessary replacements. Remember, often the smallest disconnection or overlooked dust bunny can cause the biggest disruption—so patience and careful checking become your best allies in this journey of repair.
Resetting BIOS and CMOS
Sometimes, the silence of a motherboard not getting power can feel like a cruel twist of fate—an unresponsive core in the symphony of your digital life. Resetting the BIOS and CMOS offers a delicate yet potent remedy, often restoring harmony where chaos had taken root. This process acts as a gentle nudge, awakening the motherboard from its dormant state and clearing any corrupt settings that might be blocking power flow.
To begin, disconnect your system from the power source and locate the CMOS battery—a small, round component on the motherboard. Removing it for about five minutes allows residual charge to dissipate, effectively resetting the BIOS. Alternatively, using a jumper to clear the CMOS can be a swift and effective method.
- Ensure the power is completely off before attempting to reset BIOS or CMOS.
Once reset, reconnect everything carefully and test if the motherboard powers on successfully. This simple intervention often uncovers hidden issues lurking beneath the surface, breathing new life into a seemingly unresponsive motherboard not getting power. It’s a step of profound patience and precision, reminding us that sometimes, the most elegant solutions lie in the quietest adjustments.
Advanced Diagnostic Techniques
Using Motherboard Debugging LEDs and Beep Codes
When a motherboard not getting power leaves even the most seasoned tech enthusiasts scratching their heads, turning to advanced diagnostic techniques can illuminate the obscure. Motherboard debugging LEDs and beep codes act as a silent oracle, whispering clues about the system’s silent struggles. These tiny signals can reveal whether the issue stems from power delivery glitches or subtle hardware faults lurking beneath the surface.
By closely observing the motherboard’s debug LEDs, one can identify specific error codes that pinpoint where the power flow falters. For example, a flashing LED might indicate a problem with the CPU power connector or a short circuit within internal hardware components. Beep codes, emitted during POST (Power-On Self Test), serve as an auditory map, guiding technicians through a labyrinth of hardware diagnostics. Sometimes, a sequence of beeps can reveal a motherboard not getting power due to a faulty RAM module or defective power button wiring.
Employing these diagnostic tools, seasoned technicians often follow a systematic approach, such as:
- Noticing the pattern of LED flashes or beep sequences.
- Consulting the motherboard’s manual for specific error code interpretations.
- Isolating hardware components based on the diagnostic signals.
Such meticulous techniques transform the mysterious silence of a non-responsive motherboard into a symphony of clues, unveiling the root cause behind the motherboard not getting power and restoring harmony to the system’s vital currents of digital life.
Testing with Minimal Hardware Setup
In the realm of advanced diagnostic techniques, testing with minimal hardware setup offers a rare glimpse into the hidden intricacies of a motherboard not getting power. When conventional methods falter, stripping away the excess—leaving only essential components—can reveal underlying faults. This minimalist approach acts as a magnifying glass, focusing attention on the core elements that influence power delivery.
By systematically removing non-essential hardware, such as extra RAM modules or peripheral devices, technicians can isolate the potential culprits. This deliberate simplicity often uncovers subtle issues like a short circuit or a faulty power button wiring, which might be masked by other components. For instance, testing the motherboard with just the power supply, CPU, and a single stick of RAM can expose whether the motherboard not getting power stems from internal hardware faults or external influences.
Engaging in this process allows for a refined diagnostic journey, where each element’s role is scrutinized. It’s akin to peeling back layers of a complex mystery—each step moving closer to the core problem, ensuring that nothing is overlooked in the pursuit of system harmony. Such minimal hardware testing becomes an elegant dance of elimination, illuminating the path toward resolving the elusive issue of a motherboard not getting power.
Checking for Short Circuits
When a motherboard refuses to spring to life, the culprit might be lurking in the shadows—a hidden short circuit that disrupts the delicate flow of power. Advanced diagnostic techniques often hinge on detecting these elusive faults, and checking for short circuits is a critical step in this quest. A short circuit can occur anywhere—from a tiny solder bridge to a damaged component—causing the motherboard not getting power despite a seemingly healthy power supply.
To unearth these silent saboteurs, technicians employ a keen eye and a multimeter, meticulously inspecting the motherboard’s surface and internal traces.
- Look for burnt or discoloured areas
- Check for bent pins or broken solder joints
These visual cues often reveal the root cause. Sometimes, a simple process of elimination helps; isolating suspect areas by removing accessories or disconnecting peripherals can expose where the short resides. When the motherboard not getting power persists, a methodical search for shorts becomes the key to unlocking the system’s mysterious silence—and restoring its voice.
Professional Repair Options
In the realm of digital sorcery, when a motherboard refuses to wake from its slumber, it often hides secrets beyond the reach of simple inspection. Advanced diagnostic techniques can unveil these hidden enigmas—those silent culprits that thwart power flow and leave systems in a ghostly silence. The key lies in peeling back layers of complexity to reveal the unseen forces at play. Motherboard not getting power? It’s often a whisper of a short circuit or a subtle internal fault that demands a keen eye and meticulous precision.
One approach involves employing specialized tools like thermal cameras or oscilloscopes—modern alchemists’ instruments that can sense tiny anomalies in electrical flow. These methods allow technicians to trace the elusive pathways that might be disrupted. Sometimes, carefully isolating sections of the motherboard using a systematic process of elimination can expose the hidden fault. For example, removing peripherals and testing components in sequence can reveal where the power flow is being strangled or diverted. When conventional checks falter, these advanced diagnostic techniques become the lantern illuminating the darkest corners of motherboard mysteries.
Prevention Tips for Maintaining Motherboard Power Stability
Proper Handling and Installation
Even the most sophisticated motherboard can behave like a diva—refusing to get power just when you need it most. Proper handling and installation are your best allies in thwarting this temperamental display. Always remember that static electricity is the silent assassin of electronic components; grounding yourself before handling the motherboard is no mere ritual but a safeguard against unseen mischief. When installing, ensure each component is seated with care—force is rarely your friend here. A well-organized workspace, free of clutter and static-prone materials, can make all the difference.
To prevent motherboard not getting power issues, consider the following:
- Use anti-static mats and wrist straps to prevent static discharge.
- Handle the motherboard by the edges, avoiding contact with circuitry or chips.
- Follow the motherboard’s manual meticulously during installation to avoid misalignments or improper connections.
- Double-check external power connections—sometimes, a loose cable is the culprit behind an unresponsive motherboard.
In South Africa’s bustling tech scene, where DIY repairs are increasingly common, these precautions are more vital than ever. After all, a stable power foundation isn’t just about avoiding inconvenience; it’s about safeguarding your entire system—and your peace of mind.
Using Quality Power Supplies
Power stability is the backbone of a reliable computing experience, especially when the dreaded motherboard not getting power becomes a persistent headache. Investing in a high-quality power supply is one of the most effective measures to prevent this issue. A robust power supply not only delivers consistent voltage but also shields your motherboard from power surges and fluctuations—common enemies in South Africa’s unpredictable electrical landscape.
To maximize power stability, opt for a reputable brand that emphasizes efficiency and durability. Consider a power supply with a high wattage rating—one that meets or exceeds your system’s demands—to ensure your motherboard receives a steady flow of electricity. Using quality power supplies minimizes the risk of motherboard not getting power, especially during peak loads or voltage dips.
- Ensure your power supply has sufficient amperage on the 12V rail.
- Check for protective features like over-voltage and short-circuit protection.
- Use surge protectors and uninterruptible power supplies (UPS) to buffer against power surges, which are notorious for causing motherboard power issues.
Remember, a dependable power supply isn’t just about avoiding inconvenience; it’s about safeguarding your entire system’s integrity. In South Africa, where power outages and fluctuations are part of daily life, investing in quality power supplies becomes even more crucial to prevent motherboard not getting power and ensure your tech remains resilient against the chaos of unstable electricity.
Monitoring Power Conditions
Power fluctuations and unstable electrical supply are woven into the fabric of South African daily life, making monitoring power conditions vital for safeguarding your motherboard. When your motherboard not getting power becomes a persistent issue, it often signals underlying instability that can damage sensitive components if left unchecked. Regularly inspecting your power environment helps detect voltage dips or surges before they impact your system. Installing surge protectors and UPS units acts as a buffer, absorbing electrical shocks that could otherwise cause the motherboard not to get power during sudden outages or surges.
Additionally, monitoring the electrical supply with a dedicated power quality meter provides real-time insights into voltage stability. This proactive approach enables you to identify patterns—like frequent dips during peak hours—that could compromise motherboard power delivery. Remember, consistent power conditions are the backbone of a resilient system, especially in environments prone to electrical chaos. Keeping a close eye on power fluctuations can make all the difference in preventing motherboard not getting power and ensuring your setup remains reliable under South Africa’s unpredictable power landscape.
Regular Hardware Maintenance
In the labyrinthine world of modern technology, even the most robust systems can falter beneath the weight of unseen forces. When the dreaded phrase “motherboard not getting power” becomes a haunting refrain, it signals more than just a minor hiccup—it’s a call to arms for vigilant guardians of hardware stability. The key to thwarting this digital curse lies in meticulous, regular hardware maintenance. Think of your motherboard as the heart of your machine—a living entity that demands tender, consistent care to beat steadily through South Africa’s unpredictable power landscape.
One of the most potent spells in this arsenal is routine cleaning of internal components. Dust, like a creeping fog, can insidiously cause short circuits or hinder proper electrical flow. Ensuring that all connections remain firm and free of corrosion is paramount. Additionally, periodically updating firmware and BIOS can ward off compatibility demons that might threaten to disrupt power flow, causing your motherboard not getting power. Don’t overlook the importance of inspecting RAM modules, graphics cards, and other peripherals—loose or damaged hardware can silently sabotage the power supply chain.
To fortify your system further, consider implementing a structured approach to hardware checks:
- Verify all internal cables are securely connected with a gentle but firm grip.
- Replace aging power supplies before they succumb to wear and tear, especially in regions prone to power fluctuations.
- Utilize diagnostic tools to scan for lurking faults hidden within the motherboard circuitry.
In this quest for stability, patience becomes your most trusted ally. By embracing proactive hardware maintenance, you cast a protective spell over your setup—ensuring that the dreaded motherboard not getting power remains a legend of the past, replaced by a reliable, harmonious system ready to face South Africa’s electrical whims with resilience and grace.


0 Comments